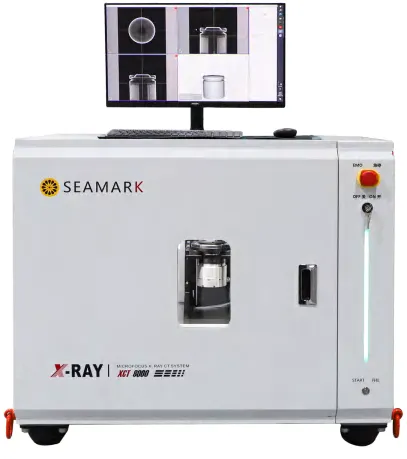
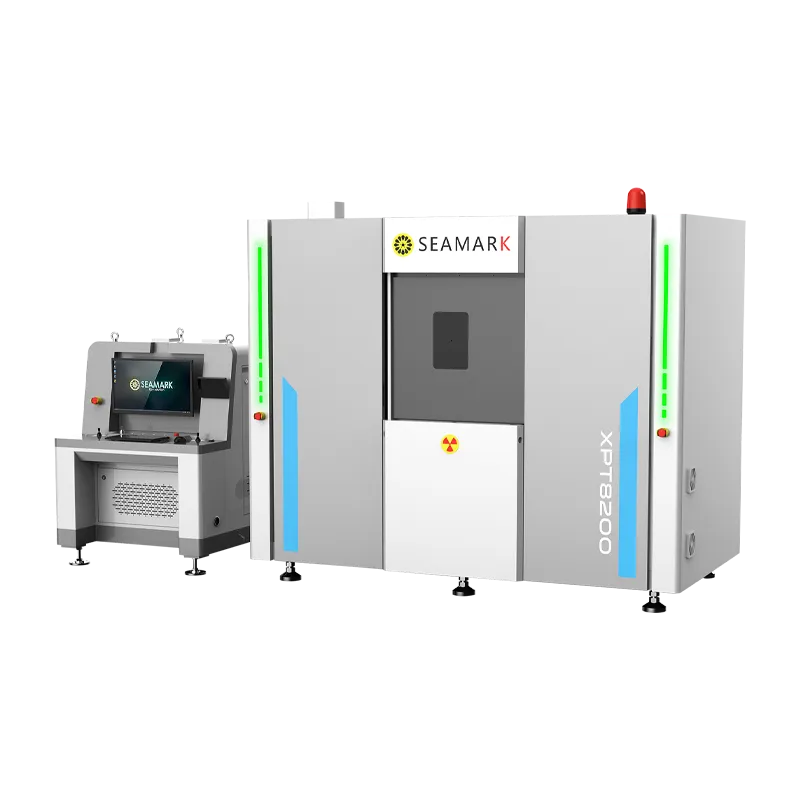
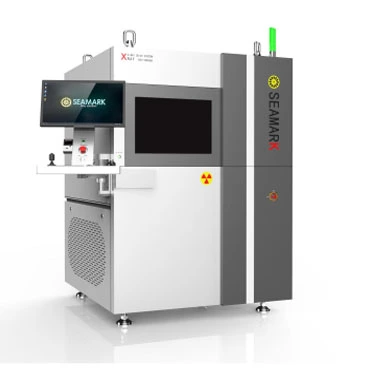
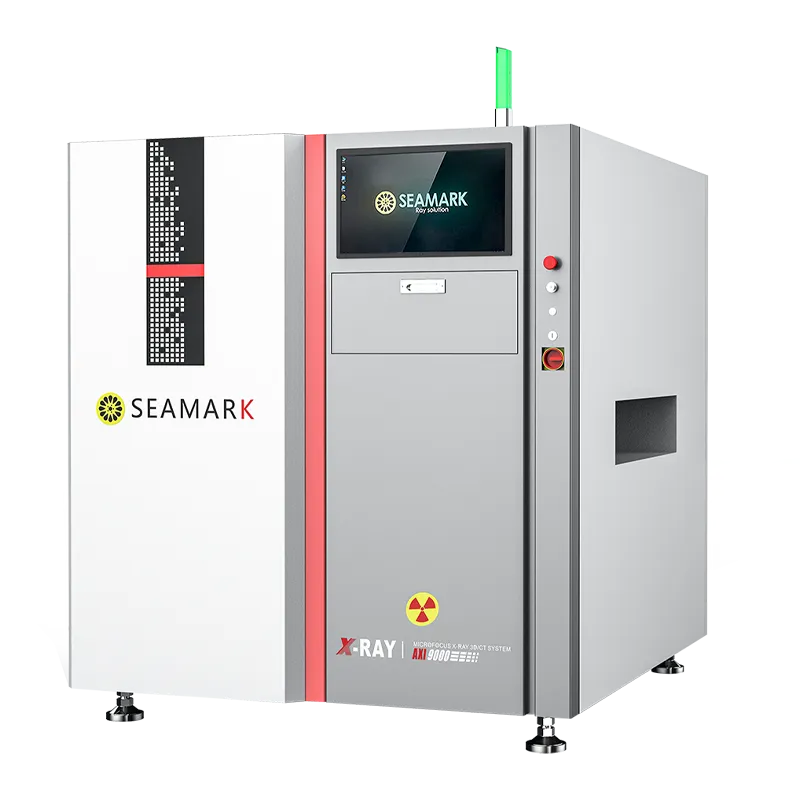
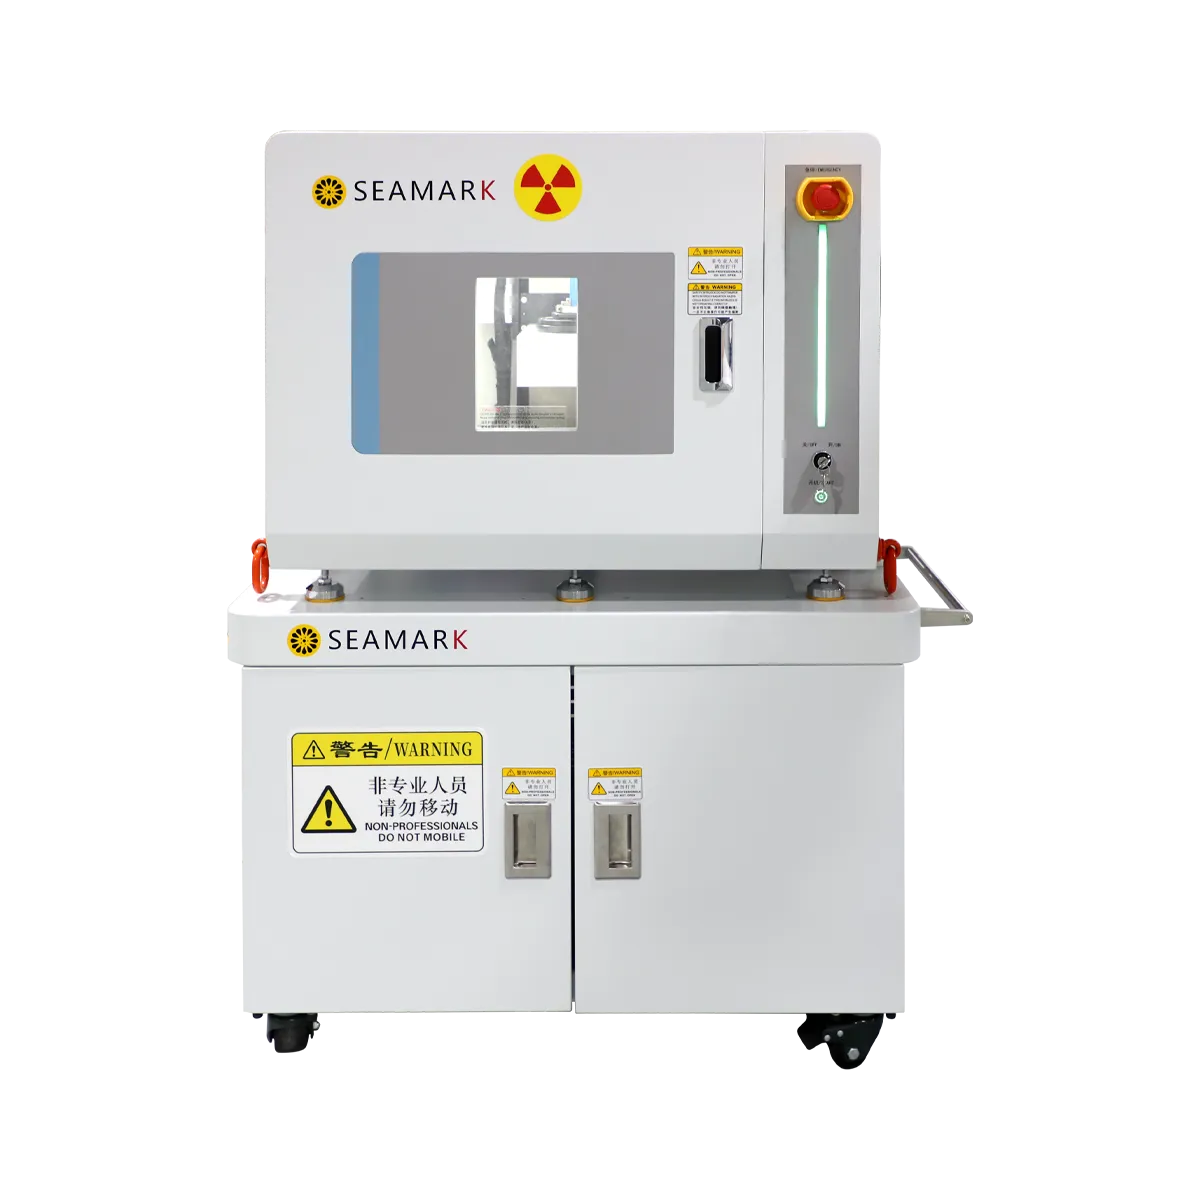
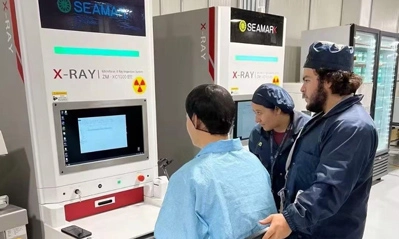
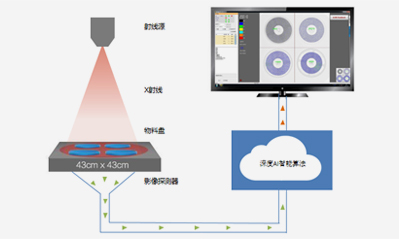
X-Ray Generation: The scanner employs an X-ray tube to generate a focused X-ray beam. This beam is much smaller and more precise than those used in traditional X-ray systems.
X-Ray Projection: The object under examination is placed between the X-ray source and a flat-panel detector. The X-ray beam passes through the object, and the detector records the X-rays that emerge on the other side. Different materials within the object absorb X-rays to varying degrees, creating varying levels of intensity on the detector.
Rotation and Projection Collection: To create a 3D image, the object is mounted on a rotating stage. The stage rotates the object in small increments while X-ray projections are collected from multiple angles. This rotation captures a series of 2D X-ray images, each showing a different cross-sectional view of the object.
Attenuation Analysis: The collected 2D X-ray projections hold information about the object's internal structure. Areas with higher density or thickness absorb more X-rays, resulting in lower intensity on the detector. Software analyzes these intensity variations to deduce the object's internal composition and structure.
Reconstruction: Advanced algorithms are employed to process the collected 2D images. These algorithms use the attenuation data from different angles to reconstruct a detailed 3D representation of the object's interior. This process is analogous to assembling a 3D puzzle from its individual pieces.
Visualization and Analysis: The generated 3D image can be visualized and manipulated on a computer. Engineers and inspectors can examine the object's internal features from various perspectives and dissect it virtually. This aids in identifying defects, irregularities, or structural intricacies that might not be apparent externally.
Resolution and Precision: Microfocus X-ray systems offer high resolution, allowing for the detection of small defects or fine structures within the object. This level of detail is vital for industries where precision and accuracy are paramount.
Non-Destructive Testing: One of the most crucial advantages of this technology is that it enables comprehensive inspection without damaging the object. This is especially valuable for fragile or expensive components.

 EN
EN
 es
es  ko
ko  de
de  it
it  pt
pt  th
th  ar
ar  pl
pl  vi
vi  tr
tr  ru
ru
